This guide will help you install mudguards on your ATV, enhancing protection and improving your ride. Whether you’re tackling muddy trails or simply want to maintain your vehicle’s appearance, a proper mudguard setup is crucial. You’ll find step-by-step instructions, necessary tools, and helpful tips to ensure a successful installation. With just a bit of time and effort, you can elevate your ATV experience and keep it in top condition for all your adventures.
Understanding ATV Mudguards
For ATV enthusiasts, mudguards play an imperative role in protecting your vehicle from dirt, debris, and water splashes. These components not only safeguard your machine but also enhance your riding experience by keeping you clean and dry. Choosing the right mudguard can significantly affect your ATV’s performance, particularly in muddy conditions.
Types of Mudguards
For different terrains and riding styles, various types of mudguards are available. They can be categorized based on their design and functionality:
- Full coverage mudguards
- Short mudguards
- Adjustable mudguards
- Wrap-around mudguards
- Custom-fit mudguards
Assume that each type has its unique advantages, which can affect your ATV’s handling and protection.
| Type | Benefits |
| Full coverage mudguards | Best for maximum protection |
| Short mudguards | Lightweight and easy to install |
| Adjustable mudguards | Flexible height and width options |
| Wrap-around mudguards | Offers enhanced side protection |
Factors to Consider
Little details can greatly influence your choice of mudguards. When selecting the appropriate mudguards for your ATV, consider these factors:
- Material durability
- Fit and compatibility with your ATV model
- Weight and aerodynamics
- Installation requirements
- Style and design preferences
The right choices will improve your ATV’s functionality and match your riding style.
Understanding these factors allows you to make an informed decision, ensuring that you choose mudguards that suit your specific needs. Each element plays a role in overall performance, so you’ll want to carefully evaluate your options. Here are some key points to think about:
- Assess your riding conditions
- Prioritize ease of installation
- Consider maintenance requirements
- Evaluate potential upgrades
- Research user reviews for real-world insights
The right mudguard will contribute significantly to how your ATV performs on the trails.

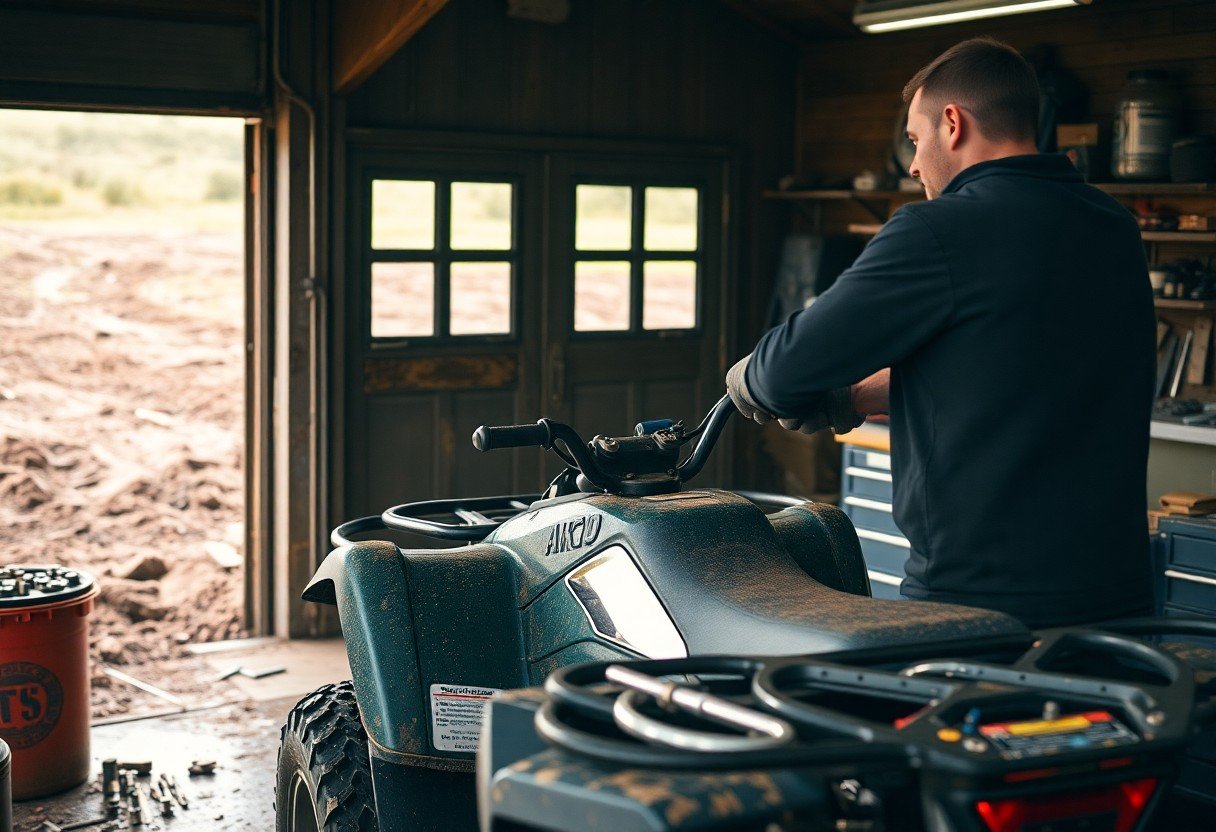
Preparing for Installation
Assuming you’ve selected the right mudguard for your ATV, it’s time to prepare for installation. Ensure you have a clean workspace and all necessary tools at hand. You can find a comprehensive guide on How to Install a Tubed Fender Guards on the Yamaha … to give you insight into the installation process.
Tools and Materials Needed
Materials include the mudguards, appropriate screws, and brackets. Additionally, you will require tools such as a screwdriver, socket set, and possibly a drill for adjustments. Gathering everything beforehand streamlines the entire installation process.
Safety Tips
Needed: Prioritizing safety ensures a smooth installation experience. Here are some safety tips to consider:
- Wear safety goggles to protect your eyes.
- Use gloves to prevent injuries from sharp edges.
- Ensure your ATV is on stable ground before starting.
Recognizing these safety measures allows you to focus on the installation without unnecessary worries.
More Safety Tips
To further enhance your safety during installation, follow these additional guidelines:
- Keep your workspace organized to avoid accidents.
- Ensure all tools are in good condition.
- Have a first aid kit nearby in case of emergencies.
Recognizing the importance of these safety precautions will help you complete your mudguard installation with confidence and assurance.
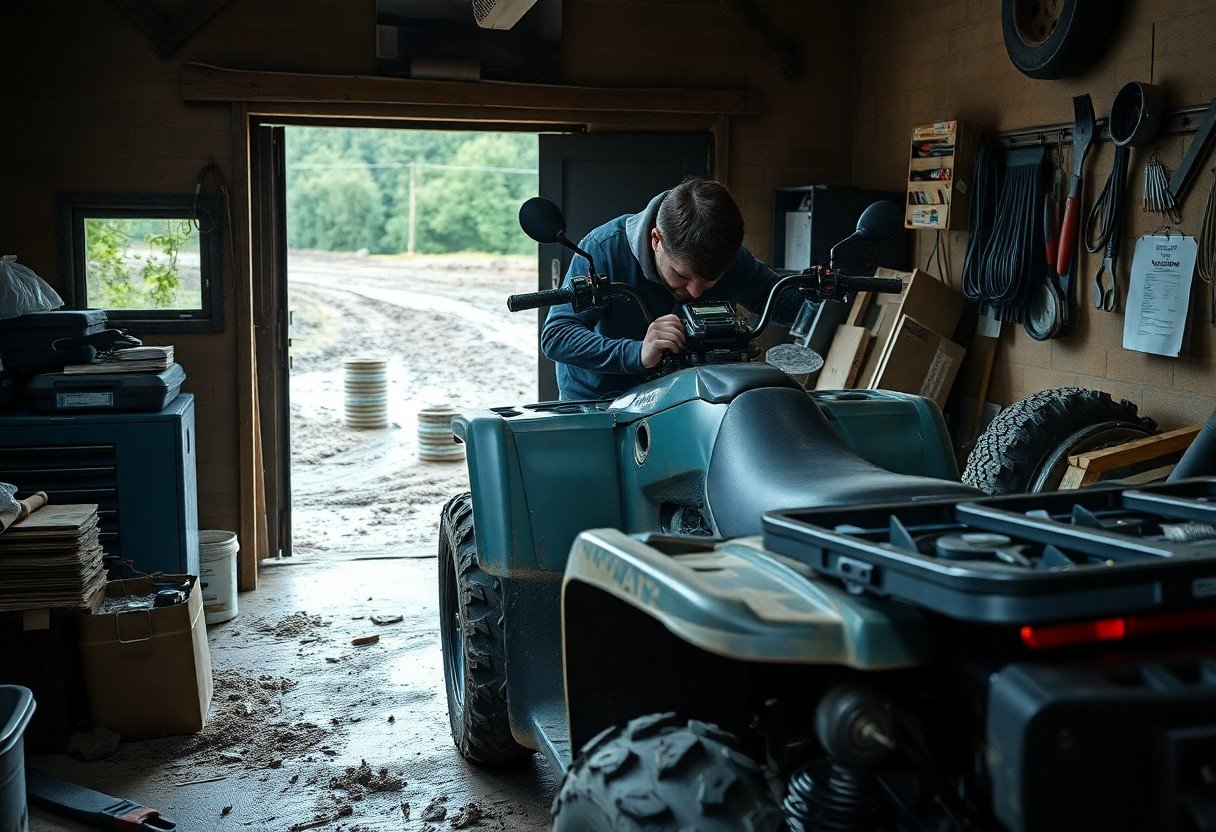
Step-by-Step Installation Process
Many ATV owners find that installing the mudguard themselves can be a rewarding experience. To streamline the process, we have broken it down into manageable steps and checks to ensure everything goes smoothly.
Pre-Installation Checks
| Check Tools | Ensure you have all necessary tools: wrenches, screwdrivers, and safety gear. |
| Inspect Mudguard | Look for any damage or missing components before beginning installation. |
| Review Instructions | Familiarize yourself with the mudguard installation manual for your specific ATV model. |
Installation Steps
If you have completed your pre-installation checks, you can proceed to install the mudguard. Gather your tools and follow the steps outlined in your manual, ensuring that each component fits correctly.
To install the mudguard, start by aligning it with the designated mounting points on your ATV. Use the appropriate screws or bolts to secure it in place, ensuring each connection is tight without overloading. After installation, check the alignment and make any necessary adjustments for optimal performance. This attention to detail will contribute to your ATV’s longevity and functionality.
Pros and Cons of Different Mudguard Types
Once again, exploring various mudguard types reveals advantages and disadvantages that can impact your ATV experience. Understanding these pros and cons will help you choose the best mudguard for your needs. For comprehensive guidance, check out the Splash Guard : Instructions : Other : Between Bumper & Rail.
| Pros | Cons |
|---|---|
| Improved protection from mud | Can be difficult to install |
| Enhanced stability during rides | Potential weight increase |
| Variety of materials available | May require regular maintenance |
| Customizable designs | Some types may impair aesthetics |
| Increased durability | Cost may vary widely |
Advantages
Assuming you opt for a durable mudguard, you’ll enjoy enhanced protection against debris and mud, keeping your ATV cleaner and functioning optimally. Additionally, better stability during rides is beneficial for your overall safety and performance. With numerous materials and designs available, you can easily find a mudguard that meets both your aesthetic preferences and practical needs.
Disadvantages
While the benefits are significant, issues like installation difficulty can arise, leading to frustration. You might also notice a slight weight increase, which can affect performance. Some types require regular maintenance and could diminish your ATV’s visual appeal. Cost is another factor to consider as prices can vary considerably.
Advantages may also include limitations on compatibility with certain ATV models or aftermarket accessories. As you weigh your options, consider practicality versus aesthetics, and ensure that the mudguard you choose aligns with your personal riding style and performance requirements.
Maintenance Tips for Longevity
Unlike standard equipment, your ATV mudguards require consistent attention to ensure they withstand the rigors of off-road adventures. To prolong their lifespan, consider the following tips:
- Inspect for cracks or damage regularly.
- Keep them clean from mud and debris.
- Apply protective coatings to prevent corrosion.
- Check fastenings and tighten any loose components.
This proactive approach will ensure optimal performance for your ATV mudguards.
Cleaning and Care
With a proper cleaning routine, you can maintain the aesthetic and functionality of your mudguards. Use a mild detergent and soft sponge to remove dirt and grime without scratching the surface. Rinse thoroughly and dry immediately to prevent water spots or corrosion.
Regular Check-Ups
If you want to keep your ATV mudguards in top shape, routine maintenance is vital. Regularly checking for signs of wear can help you detect issues early on and save you from costly repairs in the long run.
CheckUps should include visual inspections for cracks, loose fastenings, or rust. Additionally, monitor how securely the mudguards are attached to your ATV. Make it a habit to evaluate their condition after every ride, ensuring that they stay reliable and protect your vehicle effectively. This attention to detail will greatly contribute to their longevity.
Common Troubleshooting Issues
To ensure a successful ATV mudguard installation, you may encounter some common troubleshooting issues. Identifying these problems early can save you time and help you achieve optimal performance. From alignment mishaps to hardware complications, being aware of these challenges will assist you in navigating the installation process with ease.
Installation Problems
Some common installation problems include misaligned brackets or incorrect hardware choices. If the mudguards don’t fit snugly against your ATV, double-check that all measurements align with your vehicle’s specifications and that you’re using the right tools for the job.
Performance Issues
To improve your ATV’s performance post-installation, monitor how the new mudguards affect handling and stability. If you notice vibrations or decreased maneuverability, it may suggest loose fittings or an improper fitment.
Plus, reconsider your mounting setup if you experience excessive debris build-up or water splash. Ensuring that the mudguards are angled correctly can enhance your ATV’s efficiency by minimizing mud accumulation and protecting vital components. Adjusting the height and angle of your mudguards may lead to a more enjoyable riding experience while safeguarding your ATV from damage.
Final Words
From above, you have learned the vital steps for successfully installing your DIY ATV mudguard. Following this guide ensures that your ATV remains protected from mud, debris, and water, enhancing its durability and performance. By taking the time to gather the right materials and tools, and carefully following the outlined instructions, you can achieve a professional finish without the expense of a shop. Enjoy your ride, knowing you’ve added a valuable upgrade to your ATV!
FAQ
Q: What materials do I need for a DIY ATV mudguard installation?
A: To install your ATV mudguard, you will need the following materials: a mudguard kit compatible with your ATV model, mounting brackets (if not included), screws and bolts (which may also be included), a drill with bits, a wrench set, scissors or a utility knife, and a measuring tape. Make sure to have safety goggles and gloves on hand for protection during installation.
Q: How do I choose the right mudguard for my ATV?
A: Selecting the right mudguard involves ensuring compatibility with your ATV model. Check for specifications in your ATV’s manual or consult with your dealer. Additionally, consider the type of riding you do; if you frequently ride in muddy conditions, opt for durable, high-coverage mudguards designed to deflect debris effectively.
Q: Can I install a mudguard myself, or should I seek professional help?
A: Installing a mudguard can typically be a DIY project for those with basic mechanical skills and tools. The process is straightforward with a clear installation guide. However, if you are uncomfortable with the installation process or lack the necessary tools, it may be advisable to seek assistance from a professional or an experienced friend.
Q: What tools are necessary for the installation process?
A: The tools needed for mudguard installation generally include a drill, drill bits suitable for your ATV’s frame, a wrench set for tightening bolts, a measuring tape for accurate placement, and a screwdriver. Scissors or a utility knife may also be helpful for trimming the mudguard if needed. Having safety gear such as gloves and goggles is also suggested.
Q: Are there specific instructions I need to follow during the installation?
A: Yes, you should adhere to the manufacturer’s instructions provided with your mudguard kit. Generally, this includes measuring the correct placement, drilling holes in your ATV’s frame if necessary, attaching the mounting brackets, and securing the mudguard properly with screws and bolts. Each ATV model may have nuances in the installation process, so reviewing the provided guidelines is advisable.
Q: What should I do if my mudguard doesn’t fit properly?
A: If the mudguard doesn’t fit as expected, first check the compatibility with your ATV model and ensure that you have followed the installation instructions correctly. If it’s still not fitting, inspect for any obstructions or any misaligned parts. You may need to trim the mudguard slightly or adjust the mounting position. If issues persist, contacting the manufacturer for further guidance may be necessary.
Q: How can I maintain my mudguards after installation?
A: To maintain your mudguards, clean them regularly to remove mud, dirt, and debris which can accumulate over time. Inspect for any signs of wear or damage, particularly after rigorous riding or extreme weather conditions. Make sure the screws and mounts are tight and secure after heavy use. If you notice any damage, consider replacing the mudguard or fixing it promptly to ensure optimal performance.
Leave a Reply