Most ATV enthusiasts will agree that a clean carburetor is crucial for optimal performance. In this guide, you’ll learn how to effectively clean your ATV’s carburetor step-by-step, ensuring that your vehicle runs smoothly and efficiently. You’ll discover the tools needed and the techniques to tackle this maintenance task with confidence. For additional insights, check out this informative link on How to clean a carb. Let’s get started!
Types of ATV Carburetors
A variety of ATV carburetors exist, each designed to suit different performance needs and engine types. Understanding these types can help you make informed decisions about maintenance and upgrades. Here’s a breakdown:
| Type | Characteristics |
|---|---|
| Float-Type Carburetors | Use a float to regulate fuel levels. |
| Diaphragm Carburetors | Utilize a diaphragm to control fuel flow. |
| Constant Vacuum Carburetors | Maintain a steady vacuum for fuel delivery. |
| Slide Carburetors | Employ a sliding mechanism for throttle control. |
| Electronic Fuel Injection | Automates fuel delivery using sensors. |
After identifying the type of carburetor in your ATV, you can proceed with tailored cleaning methods for optimal performance.
Float-Type Carburetors
Little is known about float-type carburetors, yet they are among the most common in ATVs. These carburetors rely on a float mechanism that maintains the fuel level in the bowl, ensuring a consistent flow to the engine. Their straightforward design makes them easier to maintain and clean, allowing you to efficiently address any performance issues.
Diaphragm Carburetors
Assuming you have a diaphragm carburetor, you’ll find it operates differently from others by using a diaphragm that reacts to fluctuating air pressure within the carburetor body. This design promotes steady fuel delivery, ideal for varying throttle input. It’s important to keep these carburetors clean to prevent performance drops.
Carburetors like these are often favored for their responsiveness and versatility. The diaphragm’s movement helps maintain a steady flow of fuel, crucial for achieving optimal engine performance. Regular cleaning and inspection of diaphragm components will ensure that your ATV runs smoothly, preventing any potential damage due to fuel irregularities.
Factors Affecting Carburetor Performance
One of the key elements that impacts your ATV’s carburetor efficiency is several environmental and mechanical factors, which can hinder optimal performance. Factors to consider include:
- Fuel quality
- Altitude
- Temperature
- Humidity
- Dust and debris
Knowing these factors can help you maintain your ATV’s carburetor and improve its overall performance.
Fuel Quality
Some fuels contain impurities and ethanol that can lead to poor combustion and clogging in your carburetor. To ensure your ATV runs smoothly, use high-quality fuel that is fresh and free of additives that may degrade over time.
Environmental Conditions
While the weather and altitude can significantly affect your ATV’s carburetor performance, changes in temperature and humidity may result in poor fuel atomization and inconsistent engine performance.
Affecting how your carburetor performs, high altitudes can lead to thinner air, resulting in a richer fuel mixture, while low temperatures might cause fuel to thicken, affecting delivery. Always consider these environmental variables to adjust your carburetor settings accordingly for consistent performance.
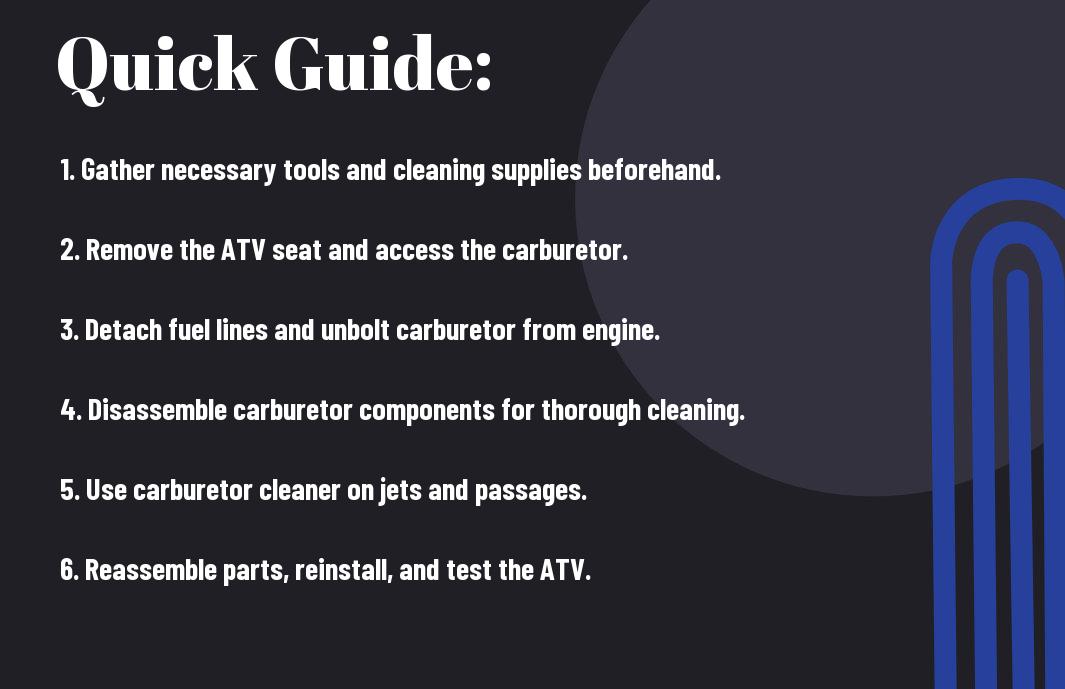
Step-by-Step Carburetor Cleaning Process
Many enthusiasts find cleaning an ATV carburetor to be a straightforward endeavor. In this section, you will discover a detailed How To Clean A ATV Carburetor? 6 Easy Steps To … that will guide you through this important maintenance task.
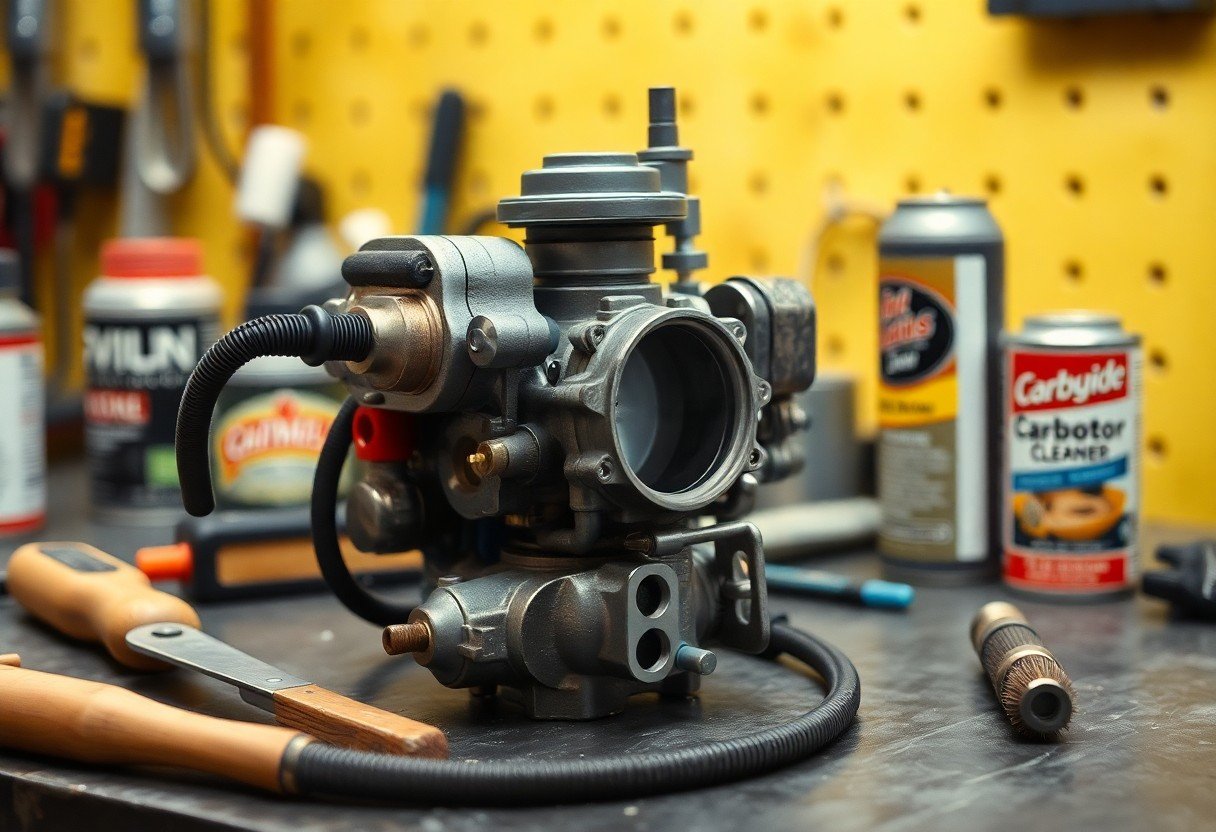
Tools and Supplies Needed
| Tools | Supplies |
| Screwdrivers | Carburetor cleaner |
| Metric wrenches | Compressed air |
| Vise grips | New gaskets |
| Clean cloths | Safety glasses |
Tools and Supplies Needed
An efficient cleaning process requires the right tools and supplies. Gather screwdrivers, metric wrenches, and vise grips for disassembly. You will also need carburetor cleaner, compressed air, and new gaskets for reassembly. Don’t forget clean cloths and safety glasses to protect yourself while working.
Disassembly and Inspection
Even a minor oversight in disassembly can complicate your carburetor cleaning. Carefully take apart the carburetor, starting with removing it from your ATV. As you detach components, inspect each part for wear and damage, noting anything that may need replacement such as jets or gaskets.
Process the disassembly methodically to avoid losing any small components. Take photos during the process to remember where each piece belongs, and inspect the float and needle closely for any signs of wear. Understanding the condition of each part will ensure that you replace what’s necessary and maintain optimal performance.
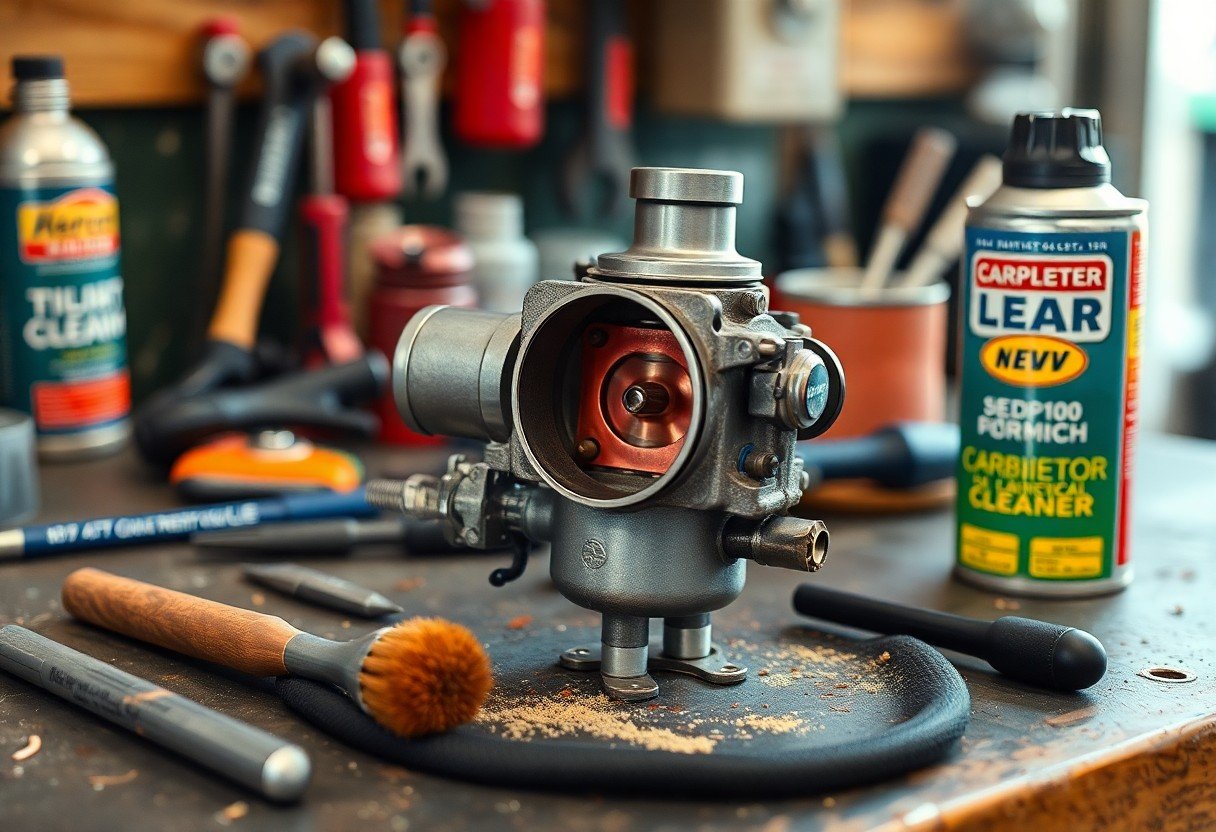
Cleaning Techniques
If you want to ensure your carburetor operates smoothly, proper cleaning techniques are necessary. Thoroughly spray each part with a carburetor cleaner to remove built-up deposits. Pay special attention to jets and air passages that must remain clear for optimal fuel flow.
Techniques vary, but starting with a soak in cleaner for stubborn deposits, coupled with using compressed air to blow out any debris, can significantly improve the carburetor’s cleanliness. Ensure that all small holes and jets are cleared to maintain proper function once reassembled.
Reassembly and Testing
Tools should be at the ready as you begin the reassembly process. Reassemble your carburetor by following your disassembly notes, and make sure to replace any worn gaskets and seals to prevent leaks. Proper installation of each component will ensure a smooth operation.
A successful reassembly process leads you to test your work. Once your carburetor is back on the ATV, start the engine and observe its performance. Proper adjustments may be needed to ensure it runs efficiently. A smooth and responsive throttle indicates a job well done!
Tips for Effective Carburetor Maintenance
Keep your ATV running smoothly with proper carburetor maintenance by following these tips:
- Inspect fuel lines and connections for leaks.
- Use high-quality fuel to prevent varnish buildup.
- Store your ATV with a full tank and appropriate fuel stabilizer.
- Check air filters regularly for clogs.
- Keep the carburetor and surrounding areas clean and free of debris.
The maintenance of your carburetor will enhance its performance and longevity.
Regular Cleaning Schedule
With a regular cleaning schedule, you can prevent dirt and grime from accumulating in your carburetor. Aim to clean it every few months or more frequently if you ride in harsh conditions. This will ensure optimal performance and reduce the chances of future repairs.
Common Issues to Watch For
Any signs of trouble indicate that you should address your carburetor promptly to avoid more significant problems.
Issues such as hard starting, poor acceleration, and inconsistent idle can indicate problems with your carburetor. Be on the lookout for black smoke from the exhaust, which may suggest an overly rich fuel mixture, or difficulty in achieving full throttle. Additionally, old or contaminated fuel can lead to clogging and decreased performance. Identifying these symptoms early on will allow you to mitigate more complex issues and extend the life of your ATV.
Pros and Cons of Cleaning Your ATV Carburetor
Despite the benefits, cleaning your ATV carburetor comes with its share of advantages and disadvantages. Weighing these factors can help you decide whether to undertake this task yourself or seek professional assistance.
Pros and Cons
| Pros | Cons |
|---|---|
| Improved engine performance | Time-consuming process |
| Better fuel efficiency | Requires specific tools & cleaning products |
| Cost savings on repairs | Risk of misassembly |
| Increased lifespan of your ATV | Potential for damage if done incorrectly |
| Enhanced throttle response | May void warranty if improperly handled |
Benefits of Clean Carburetors
Little maintenance can go a long way in enhancing your ATV’s performance. A clean carburetor ensures that fuel flows freely, leading to smoother operation and improved friction between components. As a result, you may experience better acceleration and overall ride quality, making your adventures more enjoyable.
Potential Pitfalls
To achieve the best results, you must approach the cleaning process with care. Overlooking important steps or using incorrect methods can lead to complications, negatively affecting your ATV’s performance.
It’s necessary to be aware of the potential pitfalls when cleaning your carburetor. Misplacement of parts during reassembly can lead to fuel leaks or blockages. Additionally, using improper cleaning agents may cause damage to components. Always familiarize yourself with your ATV’s specific carburetor model and follow the manufacturer’s recommendations to avoid these issues.
FAQs About ATV Carburetor Cleaning
To ensure your ATV runs smoothly, it’s normal to have questions about carburetor cleaning. This section addresses common queries that you may have related to the frequency and methods of cleaning your carburetor. By understanding these aspects, you can maintain your ATV’s performance and longevity effectively.
How Often Should I Clean My Carburetor?
With regular usage, it’s recommended to clean your carburetor at least once a year or more frequently if you ride in dusty or waterlogged conditions. Taking these factors into account will help you keep your ATV in peak condition and prevent any performance issues related to fuel delivery.
Can I Clean My Carburetor Without Removing It?
Removing the carburetor isn’t always necessary for cleaning; there are effective methods to do it while it’s still attached to your ATV. However, thorough cleaning may be more limited without disassembly.
Should you decide to clean your carburetor without removing it, using a high-quality carburetor cleaner spray can help. Be sure to follow the product instructions carefully, and aim to clean the exterior and accessible parts of the carburetor. However, for comprehensive cleaning and to address clogs, it is often more effective to remove the carburetor entirely for a deeper clean. This allows you to access all components thoroughly and ensure optimal performance.
Summing up
As a reminder, maintaining a clean ATV carburetor is vital for optimal performance and longevity of your vehicle. By following this step-by-step guide, you can efficiently clean your carburetor, ensuring it operates smoothly and efficiently. Taking the time to regularly inspect and clean your carburetor will help you avoid potential issues and improve your overall riding experience. Keep your tools handy and commit to proper maintenance, so you can enjoy the thrill of your ATV with confidence.
Leave a Reply